How To Create Your Own Personalised Map!
One of the drawbacks of 'off-the-shelf' maps is that publishers have to decide what geographic area their maps cover - a decision usually based on covering the area with the minimum number of map sheets and keeping printing costs as low as possible.
As a result you generally have to either 'make do' with a map that covers a larger area than you actually require or you have to purchase 2 or more maps to cover the entire area you need. Neither option is ideal.
However, as a result of advances in online systems and printing technology, we can offer completely personalised maps at affordable prices. This guide shows you how to produce a map of exactly the area you want and put your name on it!
Selecting Your Map
Once you know the type of map you want - for example a Postcode map - you can select this from the menu at the top of the page:

Alternatively, if you want to see all available options for your location, simply type a place name in the search box on the home page:

and click Search to see a list of maps for that area as shown below for Oxford:

Customising Your Map
Once you have selected the map you want, you will be presented with a screen similar to the one below:

If you haven't already set a location, you can enter a place name or UK Postcode in the search box and click the 'Go' button to pick from a list of locations to centre your map on.
This screen also allows you to customise your map by using the tools to the right of the preview image as described below. Please note that as you make changes to the map, the preview image will regenerate to reflect these changes. This may take a few seconds for each change so please be patient.
- Size: This control allows you to select the size of the map you want to print. As you select each size the price of the map will adjust automatically.
- Material: This drop down list shows the various finishes available for your map - usually Paper or Plastic Coated (Encapsulated). We always recommend Plastic Coated for the finish as this will protect your map and ensure it lasts as long as possible. It also allows you to draw on the map with water-based marker pens without permanently marking it.
- Orientation: This allows you to change the orientation of the map between Portrait or Landscape. The print area shown on the map will adjust automatically - note that this option does not affect the price.
- Title: Entre your own title for the map (up to 35 characters). This is the perfect place to put your company or project name to make the map your own!
- Map Area: The 'Adjust Map Area' button takes you to our interactive map where you can modify the area the map covers so it is exactly as you require. (See below)
Adjust Map Area
When clicking the 'Adjust Map Area' button you will be presented with a screen similar to that shown below:

The highlighted area shows the current area that will be displayed on your map. You can change the size of the area by clicking on the circular handle on the bottom right hand corner of the highlighted area and dragging it to enlarge or reduce the area.
If you need to see a larger area than is currently viewable on screen, you can use the plus and minus symbols in the top left hand corner of the map to zoom in and out to get the exact area you need.
Note you can also change the orientation of the map on this page by selecting portrait or landscape in the bottom left hand corner of the screen.
Once you are happy that the highlighted area matches the area you want to see on your map you can click the 'Apply' button to the bottom right to apply the changes and return to the preview screen.
Preview Your Map
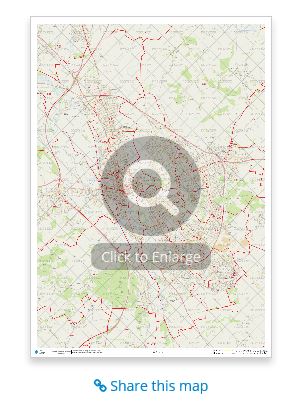
On the 'Customising Your Map' screen, the preview map image is shown as below:

This is obviously quite small and you will generally want a closer look at the map to ensure it covers the area you want and shows the expected level of detail.
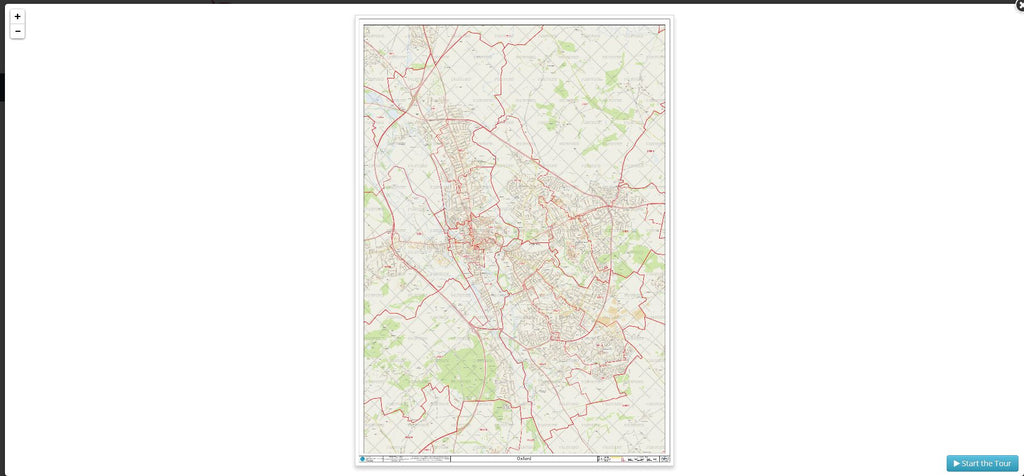
To do this simply click on the image to enlarge it and you will be show a screen similar to that shown below.

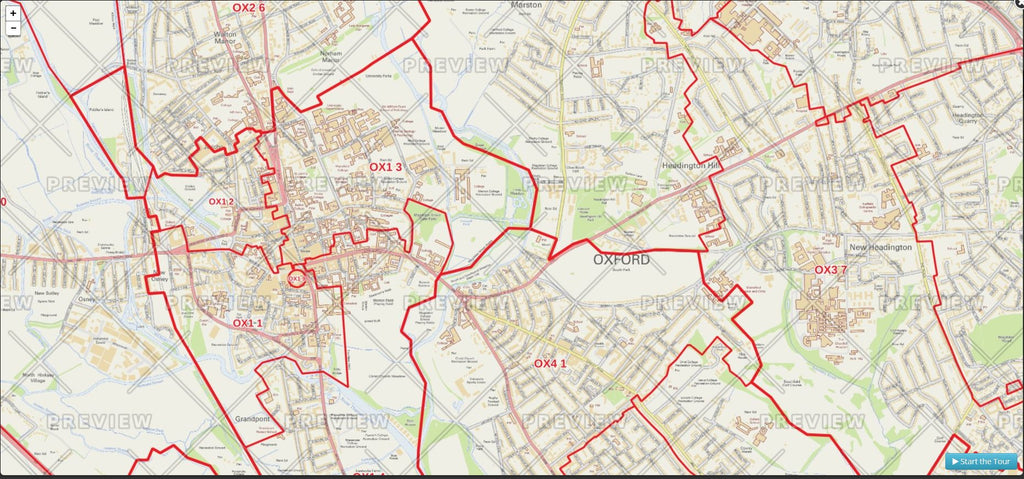
To see a detailed view of what your map will actually show when printed, click the Plus sign in the top left of the map to zoom in further and see the actual detail as shown below.

You can also slide the map around by clicking on it and dragging with your mouse. Please remember that map images cannot be copied, printed or reproduced in any form and are purely for preview purposes only.
Ordering Your Map
Once you are happy with the map, you can now click the Add To Basket button and complete your order. Your map will then be professionally printed and sent to you. Delivery is usually 5 working days but please call if you have specific deadlines you need to meet.
If you do need any help, just send us a message >
